Welcome To Lazarus

Instead of a "BANG", humanity is passing away with the shuffling of dead feet, and hungry moans. Desperate men and women fight against the rising tide for the newly risen dead.Sometimes, though, the undead are not he most dangerous things out there. Civilization has failed the test; the only thing left is survival.

Lazarus is just one of many places where humanity holds on by a thread, and life and death come as easily as a roll of the dice.
Showing posts with label Battle Report. Show all posts

Saturday, April 21, 2012

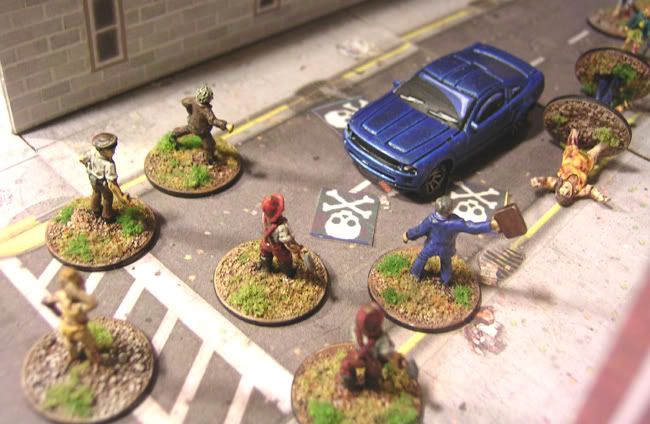
Mob Rules: ATZ Campaign Day 8

Prologue:
“The natives are getting restless”, the watch supervisor announced to the ragged looking officers in front of him.  The men in front of him and spent the last 48 hours trying to contain the craziness that had erupted in the city.  The department had already lost a hand full of men; dead and wounded.  Many civilian had also suffered the same fates, as well.  “They want more action, and they want it yesterday.”

“Well what are we supposed to do”, replied one of the men, “with all these killings and attacks, were spread so thin, we can barely take care of ourselves.

“Word is that they want the city to arm them, so they can protect themselves…and that ain’t gonna happen,” was his answer.  “A CI says that a group plans on going to the Mid Town sub-station and demanding arms.  We are going to send what manpower we can over there and see if we can nip this in the bub.  The last thing we need right now is a bunch of armed civilians running around the city.  Baakus, take these 5 men, draw riot gear and get over there ASAP.”

Baakus nodded, thinking to himself, “Great”, as he tiredly rose and headed to the armory.


Special Rules:
Using the Mob rules from eh “ATZ: Haven” book

Setup Up:
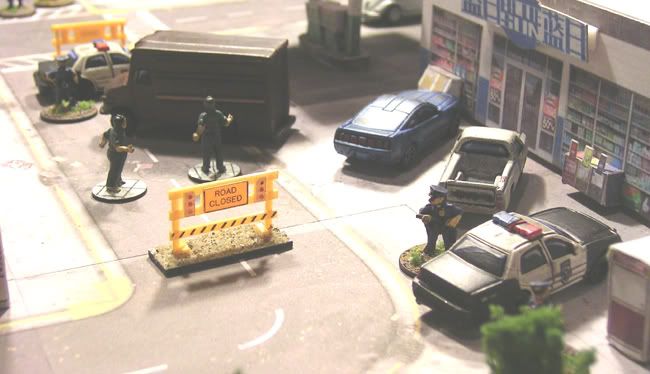
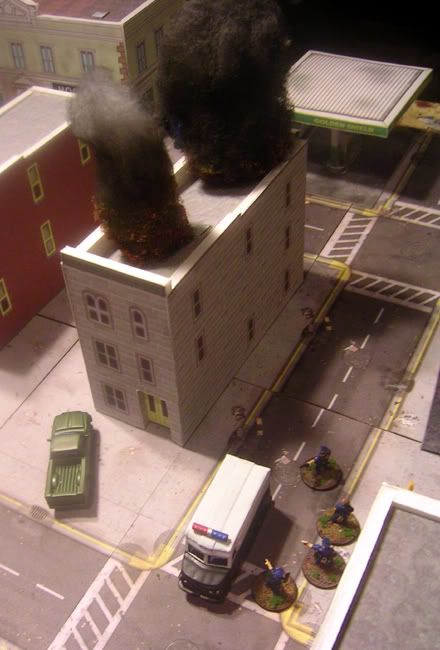
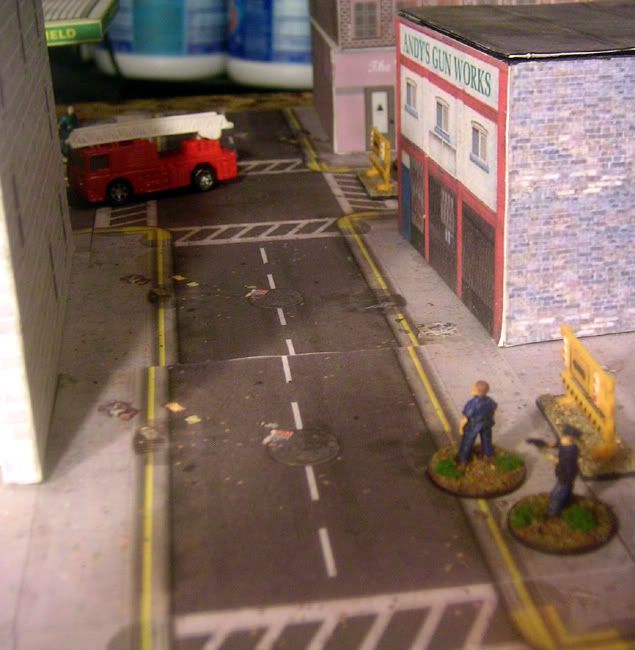
The board shows the street leading up to LPD Mid-Town sub-station (left end of board)


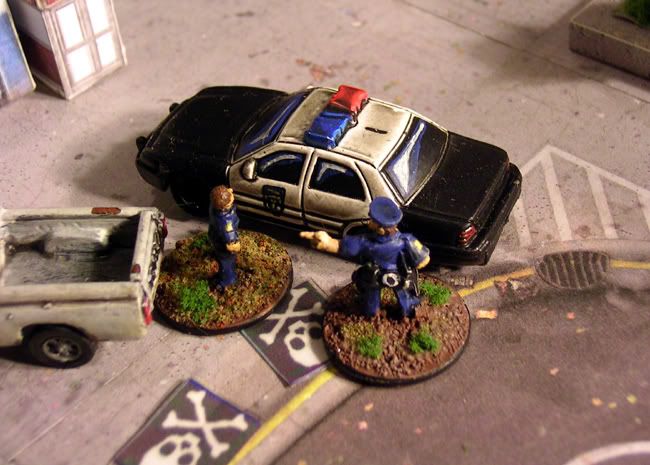
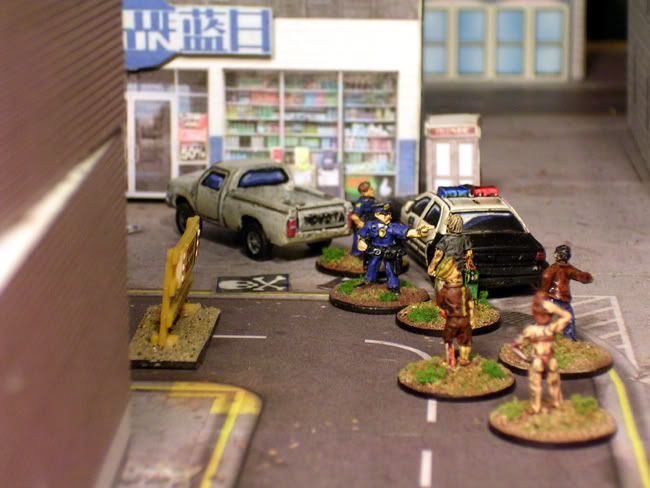
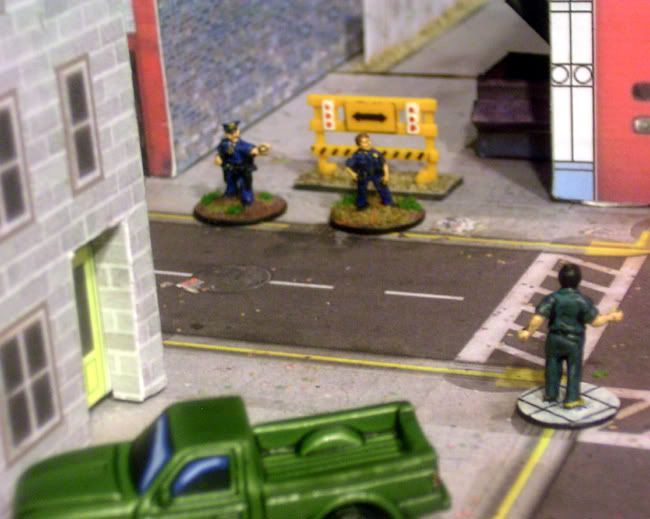
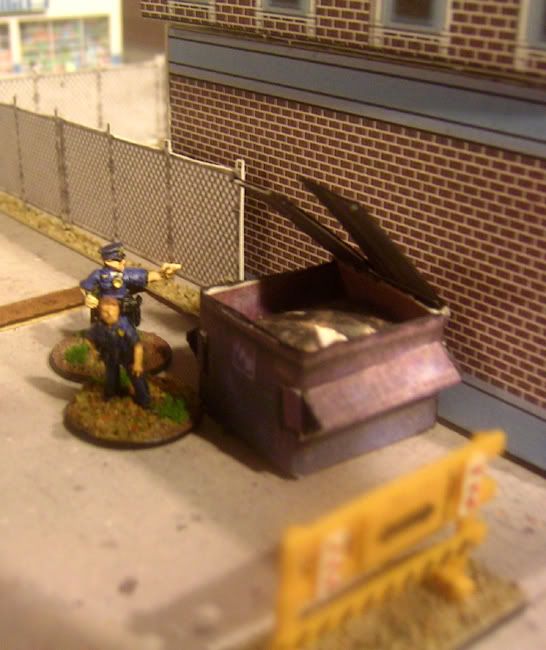
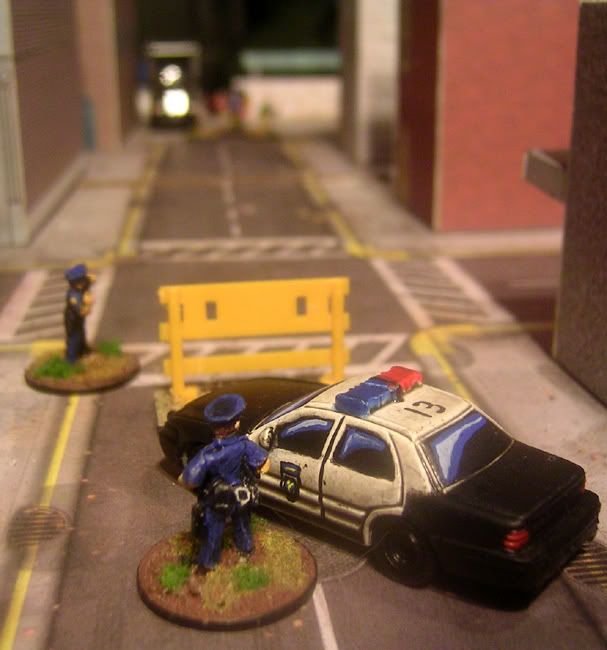
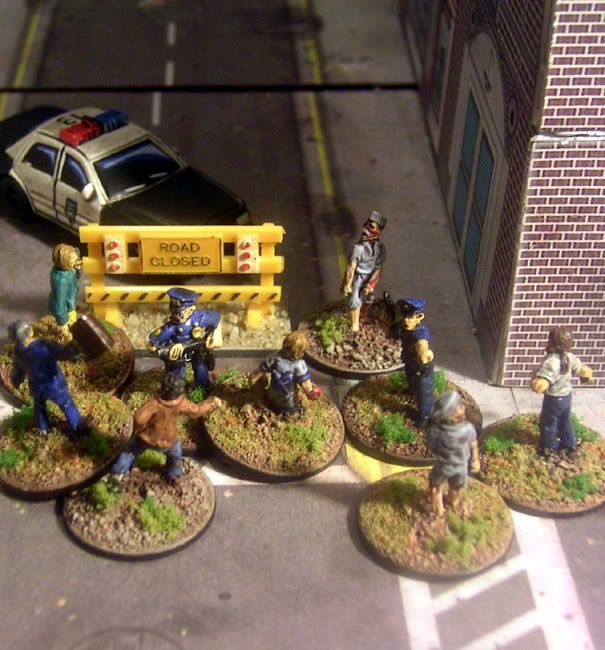
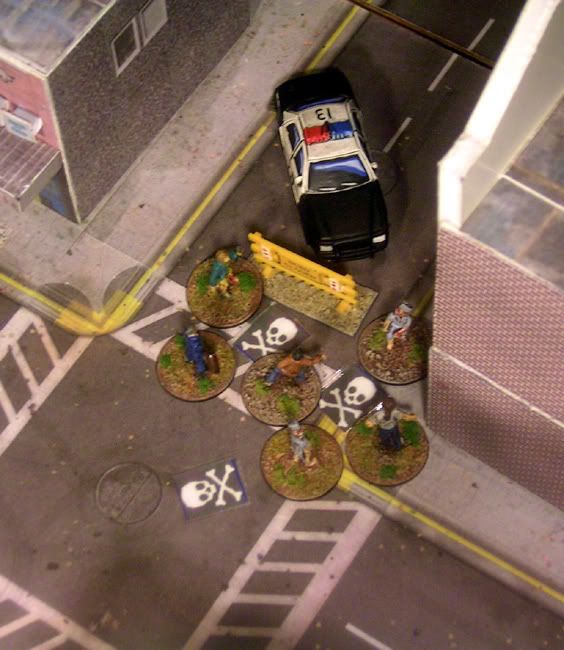
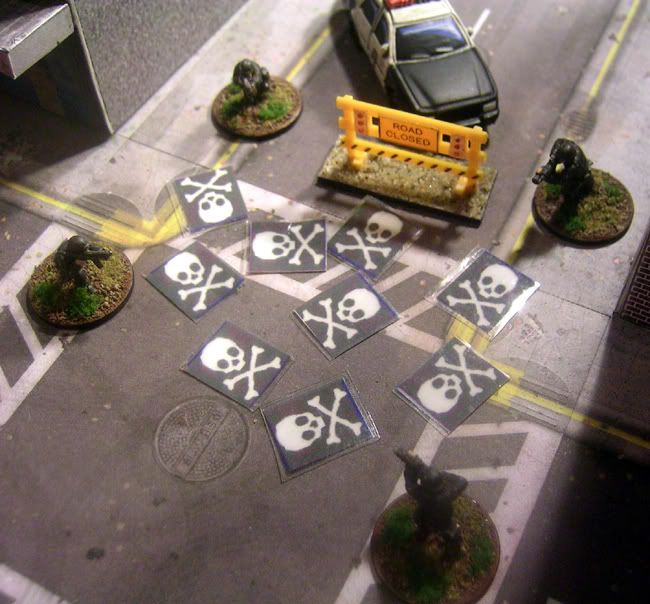
Baakus and 5 other officers have set up barricades and formed a line.  They are equipped with riot gear, with one of the men carrying a tear gas launcher.  Baakus stands next to one of the patrol cars, so he can use the mike to try and persuade the gathering crowd to disperse.


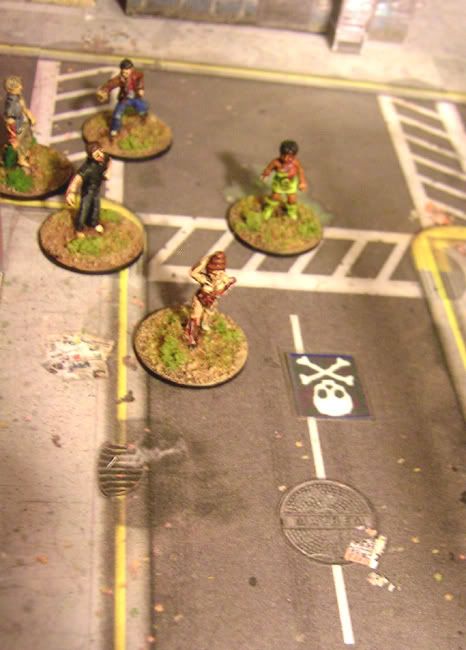
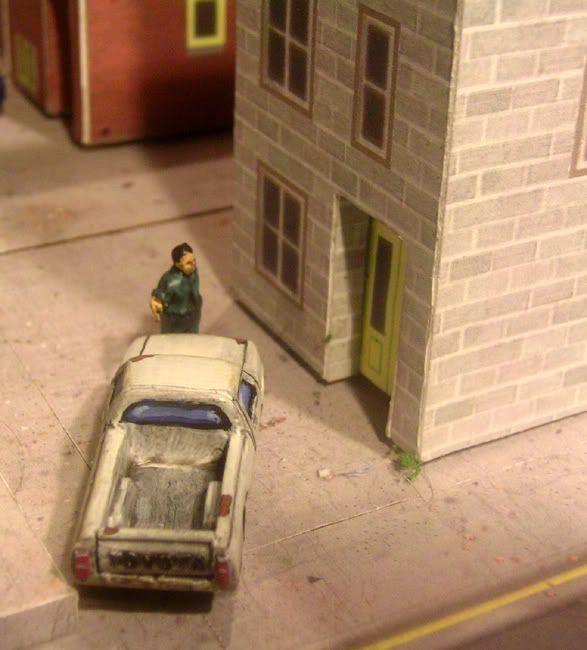
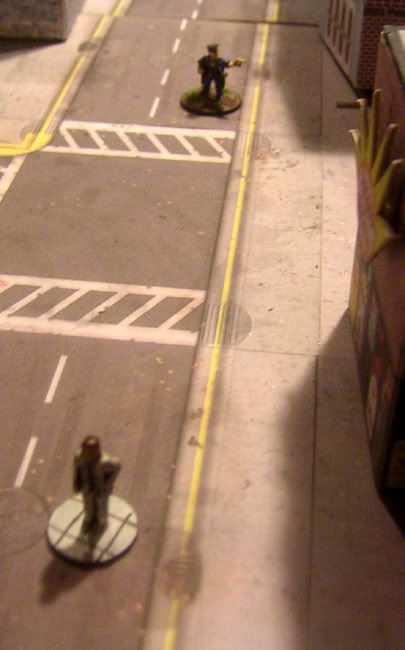
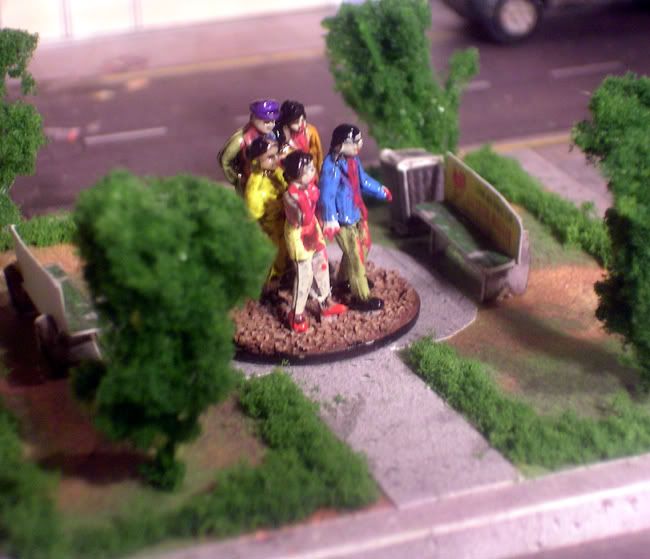
Down the street a crowd has gathered around a burnt out truck in the intersection.  It is the only evidence that anything is out of the norm in this part of town, as most of the attacks have taken place in Downtown and Westside.  The crowd mummers, as it builds up the courage to move on the police station.


Turn 1: (Police 1, Mob Mo Move)
Mob Rep: 3        
Police Move:  Officer Baakus gets on the loud speaker and tells the crowd to disperse

Turn 2: (Mob 3, Police No Move)
Mob Rep: 2
Mob Move:  The mob mills about but doesn't advance (Pass 1, Mob Move)

Turn 3: (Police 4, Mob 2)
Mob Rep: 2
Police Move:  Officer Baakus again tells the mob to disperse.
Mob Move:  The mob moves slowly towards the police officers.


Turn 4: (No Move)
Mob Rep: 2

Turn 5: (Police 4, Mob 1)
Mob Rep: 3
Police Move: Once of the officers retrieves and readies a tear gas launcher
Mob Move:  The mob mills about in place (Pass 1, Mob Move).


Turn 6: (Police 3, Mob No Move)
Mob Rep: 2
Police Move: Officer Baakus again tries to tell the crowd to disperse and told his men to don their masks.

Turn 7: (Mob 1, Police No Move)
Mob Rep: 1
Mob Move:  Officer Baakus's words seem to have an effect, as the mob stops and mills about for a moment(Pass 1, Mob Move)
Police Move:  The police stand fast

Turn 8: (Mob 3, Police 1)
Mob Rep: 1
Mob Move:  The mob surges forward again
Police Move: Officer Baakus gives the word to fire the tear gas.  The officer takes aim at the front row and pulls the trigger. The gun goes "BLOOP" and a smoking canister sails down the street.  As it reaches the front rank, it exploded, creating a billowing cloud a acrid smoke.  The first two ranks break and head away from the burning gas.  The mob rep drops to 2.


Turn 9: (Police 1, Mob No Move, Zombies No Move)
Mob Rep:  The crowd disperses, as the tear gas wafts down the street (Pass 0, Mob Rep)
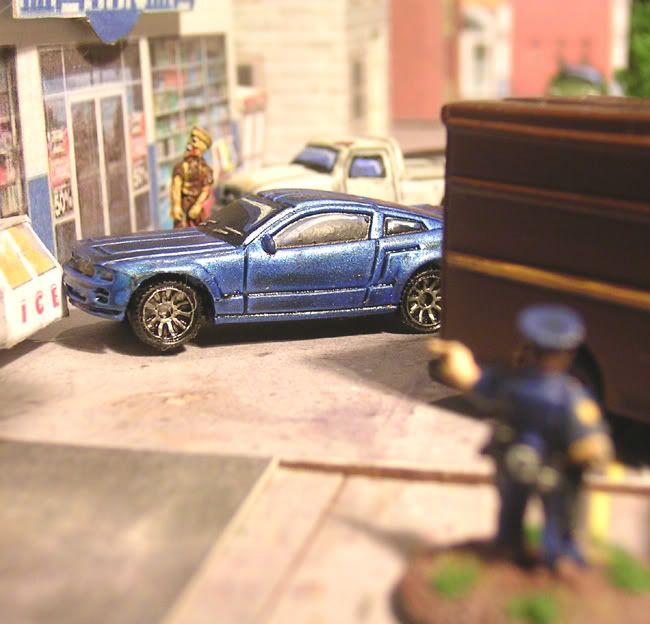
Zombie placement:  From the back room of the convenience store, by the Police Station, rises and surveys its surroundings.
Police Move:  The police officer with the tears gas launcher readies to fire a second round. 


Turn 10: (Police 4, Zombies 2)
Police Move:  The police officers stand watching the crowd dissolve away
Zombie Move:  The zombie makes its way to the front of the store, and peers out the window.

Turn 11: (Zombies 3, Police 1)
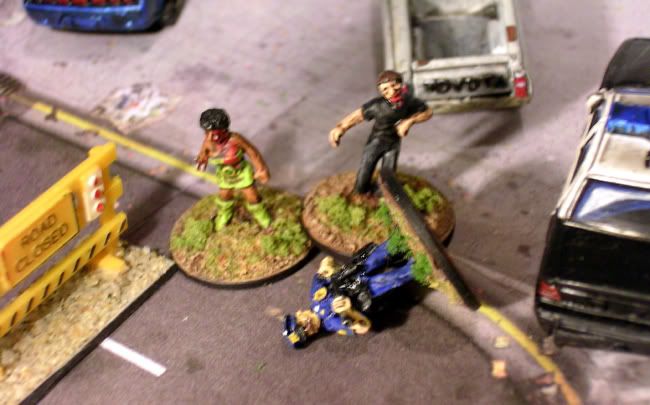
Zombie Move:  The zombie charges out the ajar front door.  Surprised, none of the officers could react in time.  The closest officer had his back to the door.  The zombie crashed into the officer's back; it's weight knocking the man to the ground.    The zombie clawed and snapped, tearing at the man' exposed flesh at the nape of his neck.
Police Move:  Roused from their shock, the men moved to help their comrade.  The man with the tears gas launcher raises it above his head.  With a grunt, he brought the butt of the weapon crunching down on the zombie's head, killing it a second time.


Epilogue:
As tear gas wafted through the air, and the crowd disperses down the street, the police render aid to the man who was attacked.  The men who were still under the impression that this was just civil unrest looked in disbelief on the dead zombie.  Staring at the ravaged form, with its skull caved in, Most of them came to realization of what Baakus already knew; this was worse, something much worse.  Several of them made comments about taking their families and getting out of dodge, before things got worse.


Game Notes:  I am not sure I played the mob rules correctly, or if I just had some really crappy rolls.  The crowd never worked itself up to actually attacking the police, and I played Baakus in a very conservative manner.  I figured with all that was going on, he didn’t want to cause things to escalate, unless he and his men were actually in trouble.  As it worked out, he held the tear gas back, until the mob got quite close, and just happened to have a really low Mob Rep.

I may play this type of scenario, again, just to see what happens.  if I do, I am also going to to add in my intrepid film crew, as this is the stuff that sells big time on the major networks.

Tuesday, February 14, 2012

Power and Light - ATZ Campaign Day 7

I have been remiss, and for that I apologize.  For the last 2 months, I have literally sat down 5-6 times to get another game in.  I just haven't been able to do it, though.  I finally managed to get the drive together to get another one played.  In fact, I feel so refreshed by the experience, I am going to finally paint up the minis I need for Day 8, and get to work on playing it out, this week..  So, without further adieu, here is the latest installment of my ATZ campaign, entitled "Power and Light"

Prologue:
“We gotta go down there and fix a transformer that’s popped. Can you guys keep the rioters away while we work?”, the utility worker asked the 4 police officers.  The officers looked at him.  His use of the “rioters” could mean only one thing, he had not seen what they had seen over the last several days.

“You just do your job, we’ll do ours.  If we tell you to move, though, you do it as though it had come from the mouth of God, got it?”, one of the policemen snapped.

“Yeah, whatever,” the man replied turning to his partner chuckling, “A bit dramatic ain’t he?”

Officer Baakus grabbed his arm and spun him around.  Growling he said, “Listen, you wanna stay alive, you do what we tell you; else you are on your own.”  There was a look in Baakus’s eyes and tone in his voice that told the man to stay quite.  Officer Baakus pointed at the nearby man-hole cover and spat, “Now get down that hole and do what you gotta do…quick.”

The utility workers gave Officer Baakus a surly look as they began preparing to make their repairs, as the police set up barricades in the street.

Setup:
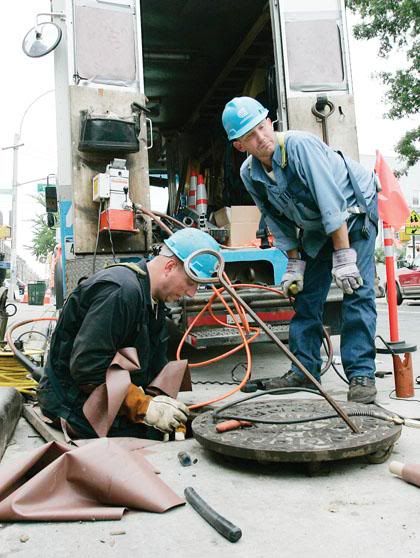
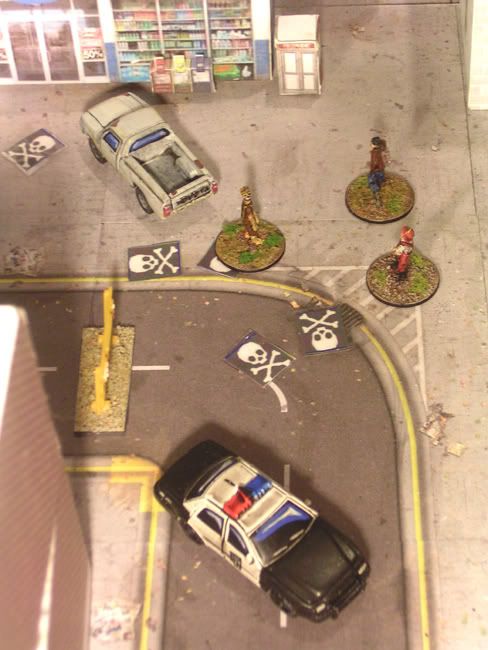
LPD cars 1 (Baakus and Toner) and 13 (Zentti and Jones)  have been dispatched to provide traffic control and security for  Lazarus P&L crew, whose job it is to get a downed transformer back on line.  They've setup around a manhole in front of a convenience store in the middle of downtown Lazarus.
 Special Rules:
When Doubles are rolled on initiative rolls, special events will take place, per the rules on page 27 of the ATZ: Haven book.  The game ends when the utility workers fix the transformer and make it to safety, or are killed.
 
Turn 1
Human Move:  Workers get the man-hole cover off.

Turn 2
Human Move:  The utility workers enter the man-hole.

Turn 3 (Doubles)
Special Event: The police hear a barking dog, which seems to be coming closer.

Turn 4 (Humans 3, Zombies No Move)
Human Move:  The utility workers start looking for the problem with the burned out transformer.

Turn 5 (Zombies 1, Humans No Move)
Zombie Move:  The dog turns the corner and moves towards the police officers (10in move).  Six zombies come around the corner, following the dog.  Baakus  recognizes them for what they are and draws his weapon, yelling at Toner to do the same.  They snap fire (pass 2D6 In Sight); of the four rounds fired, one round strikes home, dropping a zombie in its tracks.


Turn 6 (Humans 1, Zombies No Move)
Zombie Placement: Drawn by gun fire a zombie comes out the front door of the convenience store.
Human Move: Zenetti has LOS on the zombie, but doesn't fire (pass1 In Sight).  Toner sees the movement and turns, snapping 2 rounds off.  Both rounds strike the Zed, vaporizing its head.  Baakus fires two more rounds at the Zeds chasing the dog, and drops a second zombie.

Turn 7 (Doubles)
Zombie Placement:  A single zombie is comes out of one of the tenements, drawn by the gunfire.
Special Event:  Three zombies enter the map from the SW, and move 12 in to join up with the zombies by the corner. 

Turn 8 (Doubles)
Special Event: A car enters the map in the SE corner, moving to the west.  It contains a male driver (Rep4) and female passenger (Rep 3).  They are trying to escape the city.

Turn 9 (Doubles)
Zombie Placement: Two zombies come up the road, attracted by the sound of the car's engine. 
Special Event:  Another group of 7 zombies comes from the direction the other zombies did. 

Turn 10 (Humans 1, Zombie No Move) 
Human Move: As the utility workers fix the downed transformer, Baakus and Toner fire on the advancing zombie again.  They manage to drop 3 more zombies with their four shots.   Further down the street, the driverof the car sees a group of people ahead.  He slows (moving to ½ speed, via reaction check).   
Turn 11 (Zombies 2, Humans 1)Zombie Placement:  Two more zombies come out of the convenience store.  Down the block the escaping car is now drawing a lot of attention.  A total of 8 zombies appear from the shops that line the street.
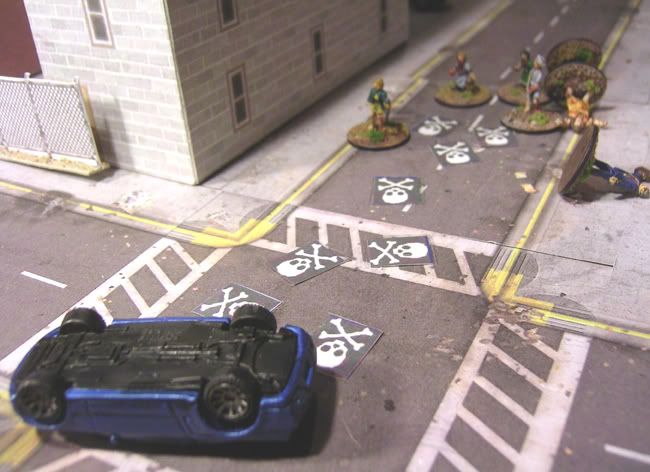
Zombie Move:  The zombies charge the car, from multiple directions.  Four zombies smash into the moving car.  Two of them go under the wheels, and two are knocked down.  The driver maintains control (pass 2, Loss of Control). The car rolls over a third zombie, and then slams into 6 more.  One is thrown to the side, while the others are run down.  The impact causes the driver to lose control.  The car rolls over, and the woman is thrown from the car and killed, and the man is knocked unconscious.  The zombies by the store charge Toner, and he is unable to fire as the zeds attack him (Pass 1, Being Charged).  The zombies manage to bite Toner, and he screams as he goes OOF.

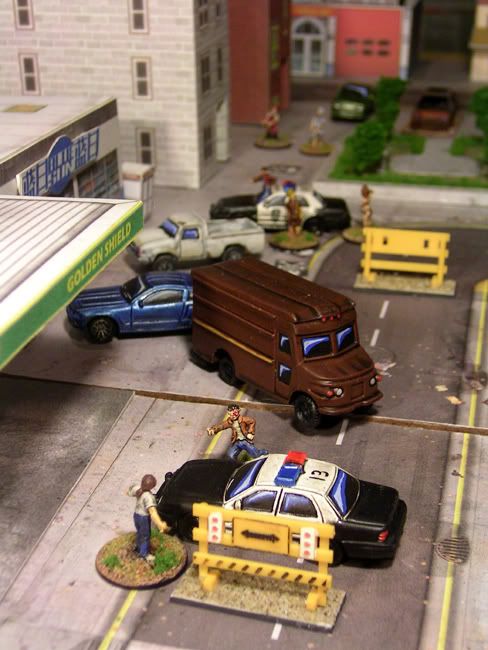
( Game Note: I kind of improvised with the rules on this part of turn 12.  It always bothered me in ATZ that a car would stop, if the wrong die came up on initiative, and could be acted against in place.  I decided to use a simultaneous move system, where the zombies and car would move an inch, any interaction was resolved, then the next inch was moved and so on, until all the zombie movement was expended.   The occupants of the car could do nothing, except react to what was happening via the reaction chart.  That's how we get the scene above as the car plows through the crowd of zombies, even though the humans didn't move this turn)

Human Move:  Baakus fires at the undead standing over his partner, and gets one hit.  One of the zeds drops.  Jones drops the second zombie from down the street.  Zenetti moves towards the downed officer, yelling at the two utility workers as they exited the manhole to run.

Turn 12 (Humans 3, Zombies 1)
Zombie Placement:  A total of 6 Zombies are drawn to the area, from all the noise.  The only ones that are of any danger to any humans are three that enter the map near the wrecked car.
Human Move:  Baakus turns and fires at a zombie advancing from his left, dropping it easily.  He then rounds the car to help Zenetti get Toner into the back seat of the patrol car. Jones moves to Patrol 13, and then realizes that Zenetti has the car keys.  The utility workers get into their work van. Back at the overturned car, the driver comes to and struggles to get out of the wreckage.
Zombie Movement:  The zombies by the car surround it; pouncing on the trapped man.  He feebly attempts to defend himself, and is quickly overwhelmed.  His screams echo against the building walls as they begin feasting for 3 turns.  The dog chasing zombies advance on Baakus and Zenetti.  While 3 of them are unable to reach the humans, one is able charge Zenetti.  They become locked in melee as Zenetti fights the zombie off.

Turn 13 (Humans 3, Zombies 1)
Zombie Placement: None
Human Move: Baakus casually aims his pistol at the head of the zombie attacking Zenetti and pulls the trigger.  The zombie drops lifelessly to the asphalt.  Baakus gets in the car and locks the doors, as Zenetti sprints back to the other one.  He and Jones get in and likewise lock the doors.  The utility workers try to start their truck, but it won’t start.
Zombie Move:  The zombies at the car continue to feast.  Two zombies start pounding on Zenetti’s car, while three attack Patrol 1, to no avail.

Turn 14 (Zombies 3, Human No Move)
Zombie Placement:  Only one zombie is drawn to the area.
Zombie Move:  Two more zombies join the attack on Patrol 1.  None of the attacks on the cars are successful.

Turn 15 (Humans 3, Zombies 1)
Zombie Placement: None
Human Move:  The utility workers manage to start their truck and drive off, making it to safety.  Neither patrol car manages to start.
Zombie Move:  The passenger side window of Patrol 1 begins to break

Turn 16 (Humans 4, Zeds 2)
Zombie Placement: Three more zombies are drawn to the area
Human Move:  Both cars mange to start to move to saftey.  Baakus manages to successfully execute a spectacular J turn in reverse (pass 2, Driver and Loss of Control), running over 2 more zombies in the process.


Aftermath:
All three vehicles make it to safety.  Despite its best efforts, the utility department is unable to keep the grid up.  Bit by bit, block by block the power starts going out across the city.  By night fall, much of the city proper is without power.  As the power went out authorities last more and more control.  At an ever increasing pace, they were unable to maintain order as chaos began to engulf the city.


Baakus preformed admirably this game.  I think he has more than redeemed himself, and may rate STAR status here pretty soon.  Although, he keeps managing to loose parents to zombie bites.  Well, it'll give a revolving door of side characters once I get inot the campaign proper.  

The point in the middle of the game where 3 doubles were rolled on initiative was the weirdest thing.  It was actually a series of 4 doubles on initiative.  As God is my witness, here's how it happened.  First double is rolled; no big deal.  Second double is rolled, with the exact same numbers; I must not have shaken the dice, discard and re-roll.  Third doubles is rolled, with different numbers;  WOW, these dice are strange, I'll take this result, though.  I changed dice, shook them really well, threw them.  DOUBLES; I doubt I could ever duplicate it, again! 

Even though the utility workers (whose vans look suspiciously like UPS trucks) managed to get the power back on, day 8 will dawn with things sliding more out of control in Lazarus.  Let me sit down and figure out what's on the agenda for its good, and maybe not so good citizens.  Until then, I hope you enjoyed this installment.

Friday, November 25, 2011

Quarantine - ATZ Campaign Day 6

I decided for Day 6, I'd play the "Quarantine" scenario from the ATZ: Haven book.  I played it straight by the rules, so some of the humans were bumped up to Rep 4, including our old friend Officer Baccus.  Can he redeem himself on this night?

Prologue:
After the very violent, and widely televised, attack on the Wilson campaign rally, city officials decided that something had to be done.  A quarantine order was signed, as it was obvious that some disease or pathogen was causing people to become murderous animals.  The words "terrorist attack" was even bandied about by the talking heads, in am attempt to make sense of it all.  Starting at midnight, every available law enforcement officer would be used to create a cordon around the area where the attacks were taking place.  In two man teams, they would let no one in or out, until 8 AM.  In the morning daylight, people would be checked for symptoms and aid would be rendered to those who needed it.

Officer Paine was not happy.  He had been partnered up with Baccus, who had become some what of a pariah over the last few days.  He had lost two partners; rumor was that he had left them high and dry in a deadly situation.  To top it off, many thought he was losing it.  At the precinct, he spoke of the dead coming back to life and zombies.  If it weren't for the fact that every man was needed, his superiors would have relived him by now.  As it was, Paine just prayed that Baccus didn't flake out on him and get him killed during the night.

Special Rules
(Per scenario description in ATZ-Haven book)
  • Anytime Doubles are rolled for activation there is an encounter; roll on Quarantine Encounter table.
  • Whenever the Police and a Civilian come face to face (6 inches and in sight) roll Rep d6 and consult the “Halt Quarantined” table.
  • All forces start with weapons holstered. It takes on activation to draw your weapon and you may only snap fire on the same activation it is drawn.  The shotgun takes one activation to unlock and access so it may not be fired on the same activation
  • All forces are subject to Zed or No Zed rule on page 33 of ATZ rule book.(exception: Baccuss and SWAT team in Lazarus world have already taken test and passed)
  • Zombies cannot be generated by gunfire or similar noises, but those that enter may still be attracted by it.
Setup
The board shows a section of the quarantine line.  There are two police cruisers (Patrols 1 and 13) blocking intersections leading out of the quarantine area.  Officer Baccus and Paine are on foot patrol, between the 2 cruisers.  Building 1-10 are in the quarantine area.


Turn 1 (Police 4, Civilians No Move)
Police Move: Officers Baccus and Paine begin their patrol.
Turn 2 (Double 6s)
(Encounter) An adult male comes out of building 4 and approaches foot patrol.  He says his girlfriend is sick and needs an ambulance.  He called for one but it hasn't arrived, he begs for help.  Officer Baccus says he will call for one and tells the man to go back inside to wait.
Turn 3 (Police 4, Civilians 2)
Police Move: The foot patrol waits for the man to go back inside
Civilian Move: The man retreats nervously back into the building.


Turn 4 (Civilians 2, Police No Move)
Civilian Move: The man returns and approaches the foot patrol again.  Before the officers can say anything, the man draws a pistol and fires (+1 Civilian success Halt Quarantined (HQ) roll).  The bullet barley misses Baccus's head.  Both officers duck back into cover and begin to draw their side arms (seems logical they would start drawing once fired on, even if not activated this turn).  The officers down the street strain to see what is going, but do nothing.
Turn 5 (Civilians 4, Police 2)
Civilian Move: The crazed man advances on the foot patrol, firing two more shots.  The bullets clang into the dumpster the officers are using for cover. 
Police Move: Both officers have their side arms drawn by now and fire at the man.  Three bullets strike the man.  He drops to the ground seriously wounded and "Out Of the Fight".  One officer from each patrol car comes to investigate.  The officers call for an ambulance.  Dispatch informs them that a police van will arrive shortly (3 turns), because there are no ambulances available.
Turn 6 (Police 4, Civilians No Move)
Police Move: The police administer first aid, and keep the man alive (pass 2, Modified Recovery test).

Turn 7 (Police 2, Civilians 1)
Police Move: The police continue life saving steps on the man.
Civilian Move: The man regains conciseness long enough to mumble about his sick girl friend.

Turn 8 (Double 4s)
(Encounter) Someone screams "FIRE!".  The officers look up to see black smoke pouring out of building 2.  The officers call it in and fire truck will arrive in 5 turns. 
Police Move:  The police van arrives.  They load the injured man into it and it pulls away, to take him to the hospital.
Civilian Move: A lone civilian runs from the building and heads towards the open part of town.  The police tell her to not cross the quarantine line.  Seeing the 4 policemen standing there, she turns around and runs into the night (+3 police success, HQ roll).

Turn 9 (Civilians 4, Police 1)
Civilian Move:  Another civilian exits the building, this time from the rear exit.  The lone officer by the Patrol 1 tells her to halt.  Suddenly the woman bolts across the quarantine line (+2 Civilian success, HQ roll).  She crosses the line and moves down the street.
Police Move: The police officer chases after the woman.  He easily catches up to her, telling her to halt again.  Once again she ignores his instructions and charges down the street (+1 Civilian success, HQ Roll).  The police officer's partner comes around the corner, just in time to see the woman running into the darkness (the fig made it off the board on its last HQ win).  All police officers who haven’t moved return to their posts.


Turn  10 (Police 1, Civilians No Move)
Police Move:  Patrol 1 sees 2 people exit the back of the burning building.  They mill about, confused.  The police watch them closely, but they do nothing.

Turn 11 (Double 1s)
(Encounter) Patrol 13 sees a group of 7 people moving up the street towards them under  the dim street lamps. 
Police Move: Patrol 13 gets ready to turn the advancing group back.  Patrol 1 tells the two people by the burning building to halt and to not cross the quarantine line.   Both civilians comply (+1 Police success HQ roll) and move across the street to an all night gas station and watch the building burn.
Civilian Move:  The civvies continue to watch their building burn.

Turn 12 (Zombies 4, Police 3, Civilians No Move)
Zombie Move:  The group of people in front of Patrol 13 continues to move towards it.  The police officers tell the crowd to halt.  Suddenly, the group charges the police officers (+3 Zombie successes, HQ roll).  As they come near, the police officers see that they are bloodied, and grotesquely disfigured.  The police officers are completely overwhelmed by the rushing horde; unable to even draw their weapons (Zombie Surprise total 13 to 7). The first officer goes down screaming as he is torn to pieces by the first zombie to reach him. The second officer manages to kill one of his attackers, before being dragged down, as well.  The attackers begin feasting on the bodies for 4 turns.
Police Move: Baccus and Paine hear the screams down the block.  Under a distant street light, they can see their companions being eaten alive.  Baccus nervously mutters, "It's them" and draws his weapon as he calls for help on his radio (A SWAT Team will arrive in 3 turns).  Paine, realizing that Baccus isn’t crazy and steeled by his demeanor draws his sidearm as well.  A fire engine arrives and begins to battle the fire in the burning building.
Civilian Move: Still complying with instructions, the civilian from the building stand aside and let the fireman do their work.


Turn 13 (Double 6s, Zombies 1)
(Encounter) Baccus and Paine hear a barking dog in the distance.  They look across the small park in front of them and see a dog running towards them.  Following not far behind is a group of bloodied figures.  Baccus nods his head in their direction, "more of them, get ready".
(Encounter; part of the "Fire" encounter from turn 8) Down the street, there is a “POP”.  Sparks and chunks of asphalt fly as a bullet ricochets off the pavement.  Someone yells "SNIPER!" as Patrol 1 draws their weapons scanning the area for the shooter.  The firemen and civilians duck for cover.  One of the officers retrieves the shotgun from the cruiser.
Zombie Move: The zombies follow the barking dog.

Turn 14 (Civilians 4, Police 2, Zombies 1)
Civilian Move: The civilians decide that they need to leave the area and head for the quarantine line.  Patrol 1 orders them to stop, emphasizing things with their drawn weapons.  The civilians turn on their heels and head the opposite direction (+3 Police success, HQ roll) , while the firemen resume battling the fire.
Police Move: Baccus and Paine stand their ground watching both groups of zombies.  Patrol 1 continues to man its road block, as well.
Zombie Move:  The barking dog easily out paces the shambling zombies.  It makes no difference, though, as the zombies have spotted the humans to their front.  They advance towards them, through a small park, as the zombies at the corner continue to feast.

Turn 15 (Police 3, Zombies No Move)
Police Move: A SWAT van turns the corner and heads towards the downed officers of Patrol 13.  As it screeches to a halt, heavily armed SWAT members rush from the van.  Without hesitation, they begin to pour fire into the zombies feasting on human flesh.  They easily dispatch the pre-occupied zombies.  Baccus and Paine fire at the advancing zombies as they pass through the small park.  Baccus drops 2 of them, while Paine misses.

Turn 16 (Police 4, Zombies 1)
Police Move: Baccus and Paine fire again.  Baccus drops another zombie while one of Paine’s bullets passes through the chest of another.  The SWAT team advances to the sound of the gunfire and takes out the last 2 zombies.

Aftermath:
Despite their best efforts there were too many incidents like down fall of Patrol 13.  Large gaps developed in the quarantined line, and there were not enough officers to plug them.  More and more people started to exit the quarantine zone, many of them sporting wounds from rampaging attackers.  Faster and faster things spiraled out of control.


Game Note:  I will be honest, I wasn't sure how this one was going to go.  By the scenario rules in the ATZ - Haven book the game lasts 16 turns. minimum.  Since nothing happens unless doubles come up on activation rolls every turn, you could potentially have a game 16 turns long where nothing happens.  Needless to say, with 4 encounters taking place, that wasn't a problem this time around. The game turned out quite enjoyable, as I didn't have any idea what was going to happen next.


Also, Officer Baccus finally redeemed himself.  I was beginning to worry that I might have to just relegate him to zombie fodder, if he didn't shape up.  I think he gets to keep his 4 Rep, and will see more acion in the days to come.

Friday, October 7, 2011

Ambush Z - Outbreak (Battle Report)

I had such a good time playing the games that Ambush Alley Games hosted at Fall Recruits (Lee's Summit, Mo) last month, I decided it had been WAY to long since I broke open any of their rules.  With that in mind, I set about refreshing my memory on Ambush Z.  Instead of Hometown USA, I've set it in the Middle East; just so I can break out some different scenery.  Here's the results; enjoy.

Situation:
A team of Scientists (aka Whiskey Charlies) has taken up refuge in a nearby building; due to a broken down vehicle.  A US Army fireteam (Fireteam Blazer) is dispatched to rescue them.

Setup:
The board is setup per the scenario directions in the Ambush Z rulebook.
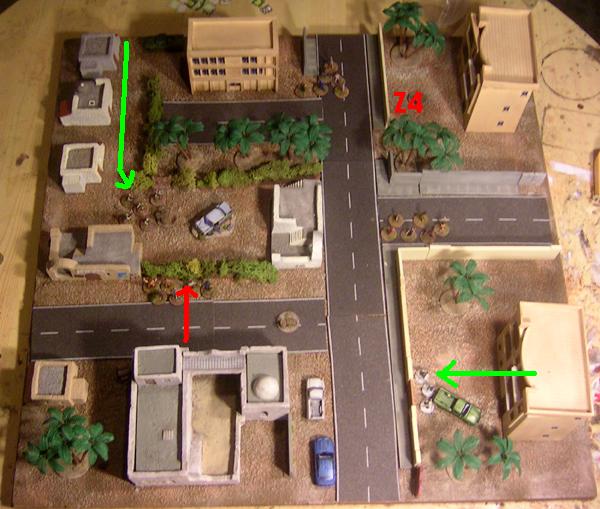
The board with Hot-Spots (HS), zombie units (Z#), the human Entry/Exit Point (E) and the target wayward Whiskey Charlies (X)

The frightened scientist look on from the balcony of their hideout.


Turn 1
Living Turn: Fireteam Blazer rapid moves 12 inches, into awareness zone of group Z3.  It interrupts, but can't get through the hedge.  Since the Whiskey Charlies can see Fireteam Blazer, they move from the building, cautiously to the gate of the compound.
The Whiskey Charlies move to the gate, anticipating rescue.
Zombie Turn: All unmoved zombies mill around.
Zombie Reinforcements: Z4 (8 Zeds) appear by HS 1
End of Turn 1
 Turn 2
Living Turn: Fireteam Blazer rapid moves 12 inches towards the small white shop to its front.  Z3 interrupts Fireteam Blazers movement, but Blazer wins the Reaction Check (RC).  Again, the zombies can't get through the hedge, so they follow Blazer’s movement down the hedge row.
Zombies looking for Fireteam Blazer
(Game Note: I wasn't sure how to handle the situation.  The zombies knew the living were there, but couldn't get to them on their interrupt.  Conversely, the Living couldn't Def Fire on the Zs, but knew they were there.  So, I had the zombies shadow the living unit down the hedge row, until they could attack.)

Fireteam Blazer makes its first kills.
As Fireteam Blazer makes it to the patio of their target building, they engage the pursuing zombies with Defensive Fire (Gunfire Zombies: Z5 (6 Zeds) appears at HS4).  They fire and kill 4 zombies.  As they reach the street, the remaining 2 zombies come around the corner and engage them in Close Combat (Gunfire Zombies: 0) As Fireteam Blazer finishes its move it enters group Z2's awareness zone.  Z2 interrupts Blazer’s movement, with the humans winning the RC again.  One zombie is killed as Z2 charges Fireteam Blazer (Gunfire Zombies: Z6 (5 Zeds) appear at HS2).  The remaining 5 make it into melee.  After 4 turns of melee Z2 is destroyed; with no human casualties. (Gunfire Zombies: Z7 (6 Zeds) appears at HS3).
The humans take on the second wave of undead.

Z6 interrupts and charges Fireteam Blazer.  The humans are able to defensive fire and kill one zombie, before Z6 can enter melee (Gunfire Zombies: 0).  Z6 is wiped out in one round of Close Combat.(Gunfire Zombies: 0).  The Whiskey Charlies move to join Fireteam Blazer and become their dependents.  Z1 see’s them cross the street and is able to activate.  It advances towards the humans, but can’t reach them.  Fireteam Blazer passes a Quality Check and is able to hold fire.

(Game Note:  I didn't want Blazer to fire at the zombies, as I knew they couldn't reach them.  I figured that in the heat of battle, though, there was a good chance that the humans would open fire a the advancing threat; hence the QC to hold fire.)

Zombie Turn: All unmoved zombies advance towards the sound of the recent gunfire.
Zombie Reinforcements: Z8 (5Zs) appears at HS1
End of Turn 2
Turn 3:
Living Turn: Fireteam Blazer moves cautiously, due to its dependents, back through the patio it had entered the street from.  It is headed towards the exit point, and safety.
The humans start to head to safety.
Multiple zombie units attempt to interrupt their movement; Interrupt Chain Z7, Blazer, Z1, Z4,Z5, Z6.  Z7 charges into melee, and after 2 rounds of melee Z7 is wiped out.  Wounded by a zombie, Blazer’s Grenadier becomes a dependent.  (Gunfire Zombies: Z9 (9 Zeds) appear at HS2).  Blazer passes the ensuing Morale Check for the wounded member. The rest of the interrupting zombies are only able to follow at a distance; unable to catch up to the humans.
Zombie Move:  The remaining unactivated zombies move towards the gunfire; most of them just following the crowd.
Zombie Reinforcements: 0
End of Turn 3
Turn 4 (Zombie Quality Goes up to D8)
Living Move:  Fireteam Blazer continues to move towards safety and Z1 tries to interrupt.  Even with the Whiskey Charlies dragging the injured grenadier, the zombies are unable to catch up with Blazer.
Two Whiskey Charlies drag the wounded Grenadier to safety, while the rest of Fireteam Blazer watches the rear.
The humans move into Z9’s awareness zone, activating it, but it can't get through the hedge (same situation as Turn 2), so it shadows Fireteam Blazer’s movement.  Eventually, this movement takes Z9 to an opening that will allow it through.
Zombie Move: All remaining zombie units follow Fireteam Blazer's path.
Zombie Reinforcements: Z10 (5Zs) appear at HS 2

Turn 5
Living Unit:  Fireteam Blazer moves towards the exit point.  Again multiple zombie units attempt to interrupt; Interrupt Chain Z1, Z9, Z4, Fireteam Blazer, Z6.  Z1 charges into melee.  Caught off gaurd, Blazer is unable to Def Fire on the cahrging zombies. Blazer’s SAW gunner goes down in the first round of melee.  Having survived the first round of melee, Blazer elects to flee Close Combat.  It moves 6 inches away from Z1, which is directly towards the exit point.  None of the other interrupting zombie units could catch up with the humans at this point.
Zombie Move:  All remaining zombies move after the humans.
Zombie Reinforcements:  Z11 (6Zeds) appear at HS4.
Turn 4 Movement and the End of Turn 5.

Turn 6
Living Move: Fireteam Blazer moves off the map, as no zombie unit is able to interrupt it.

Aftermath:
Fireteam Blazer escorted the scientists to safety.  Unfortunately, the Grenadier died from his wounds, and the SAW gunner was put out of action for a long time.

Victory Points
Tallying up the points in the Ambush Z rule book, it is obvious that the humans won (Humans 45, Zombies 3), no question.


Game Notes: 
It's been a while since I played Ambush Z, and I am positive that I screwed some things up.  Two things I know for sure are:

1)      I allowed the civilians to leave the house, before Blazer reached them.  They could see the rescuing unit, so I think it was within the guidelines of the rules, but I am not sure it was within the spirit of the scenario.
2)      The humans should have had to get into cover to asses their first causality on Turn 4.  I didn’t realize this until after I had finished.  I think the zombies most likely would have won had they done this.  The zombies would have swarmed the building the next turn, and kept the humans from getting away.  In any event it would have been a lot closer run thing than it was.

All in all I had fun getting to know the Ambush Z rules again.